In this lecture, I will create a brief overview of the 5 steps you need to take if you want to make 10000 unique NFTs and in the following lectures, I will show in detail each step. Every lecture will be dedicated to one step of the whole process but the idea in this lecture is for you to grab the whole concept of how to make and list 10000 NFTs or any number that you wish to create.
No worries, no coding experience is needed, I’m not a developer but I have figured out how to get the ready-to-use code and to use it to generate my own collection of NFTs art.
Why 10000 NFTs?
It’s really cool to create and list thousands of NFTs because if you market them well, if you build a community and build the expectation for the minting day, you can make a really good amount of money and in one moment you can find your NFTs on the marketplace for an insane amount of money. For example, the floor price for my favorite Bored Ape Yacht Club NFTs now is 51.98 ETH which at the moment is above $204,000 as a value. Isn’t that insane?
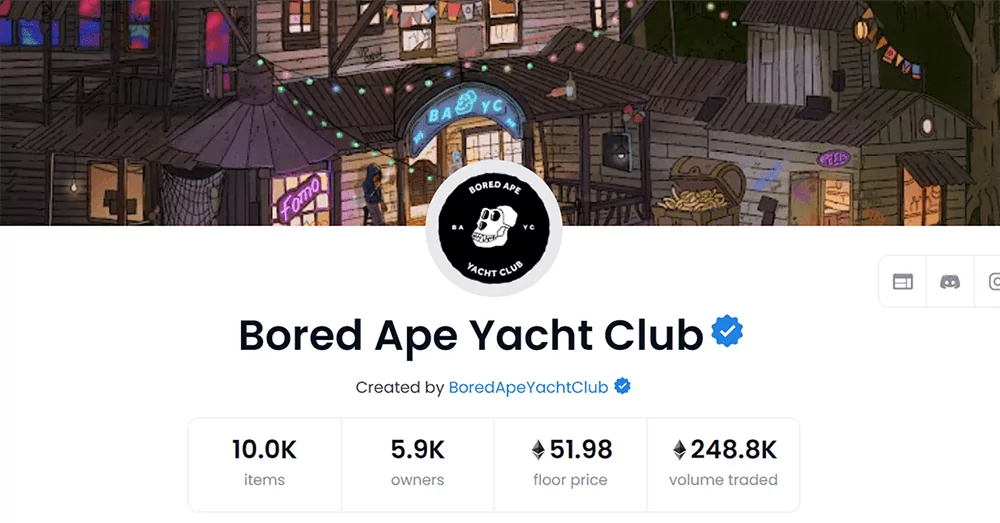
I would never spend that amount of money, but I really like those and if you look at them they’re not just funny but there is something common. What you can notice is that the background for some of those is the same.
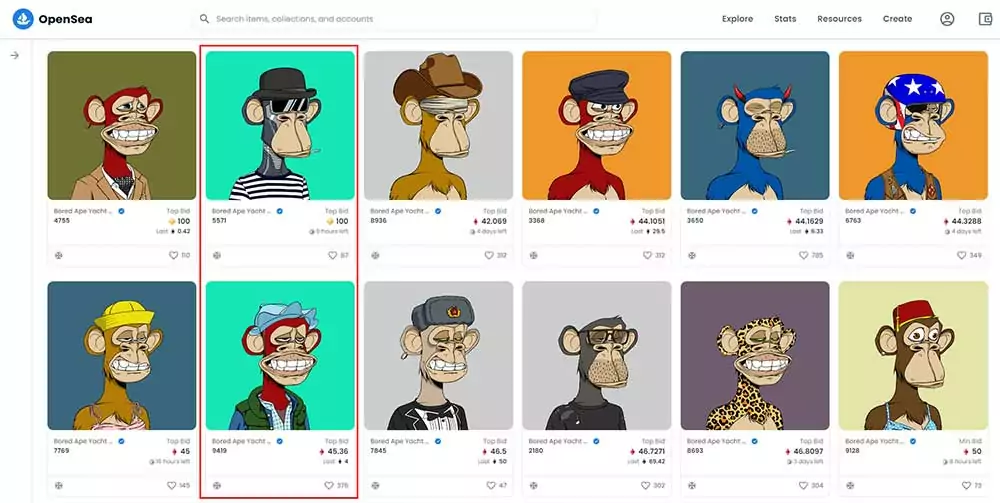
What you can notice as well is that their faces are similar so they have the so-called layers and to make such a collection with 10000 NFTs you are actually about to create layers. The first layer is the background, then you have the body, then you have the head and you can have a different mouth, different ears, eyes, nose, attributes in the mouth, you can have different hats, different dresses, or whatever comes to your mind.
So the first important thing to notice is that those NFT collections are quite similar and they are built by placing a layer over a layer, over a layer, and by combining the different layers actually you are creating 10000 unique NFTs. You can make as many NFTs as you wish. So if you’re ready I will show you the steps you need to go through and you can have an idea about the whole process.
I will drop links below so you can have an idea of what you need to download, from where you can get it, and by the end of the lecture, you will know if this is the right thing for you or not. And this will save you a few hundred dollars because this is how much you would pay for one collection if you hire someone from Fiverr for example. And actually, these guys are following the very same method, so what I want you to do is just sit back and see the whole process.
Visualize your idea
So the first important step is to come up with an idea that will be awesome and people will be willing to buy. You will be able to sell most of your NFTs just on the minting day and if you’re reading this lecture I guess you already have the idea. If you’re an artist probably you have a few ideas already and you’re just looking for a way to create thousands of NFTs so you won’t need to paint them one by one which obviously will be super time-consuming and you don’t want to spend that time.
You already heard about a method where the artists are generating those NFTs within minutes and this is exactly what I will explain in a second and I will share what exactly you need but if you have no idea I will give you a few tips from where you can start.
First, you need to decide if you are about to imitate an already existing NFT collection such as the CryptoPunks which could be considered as the beginning. They are the inspiration for the ERC-721 standard and if you look at the top collections on OpenSea you will see that most of the collections are with 10000 items. Of course, you can create more or less, it really doesn’t matter. So if you’re about to imitate an existing project think about how you can make it more interesting. What is missing with the project you want to improve, are you about to create some Metaverse or implement those NFTs into an NFT game which is one of the most popular and exciting niches nowadays in the NFT world or you will just make them funnier with more attributes.
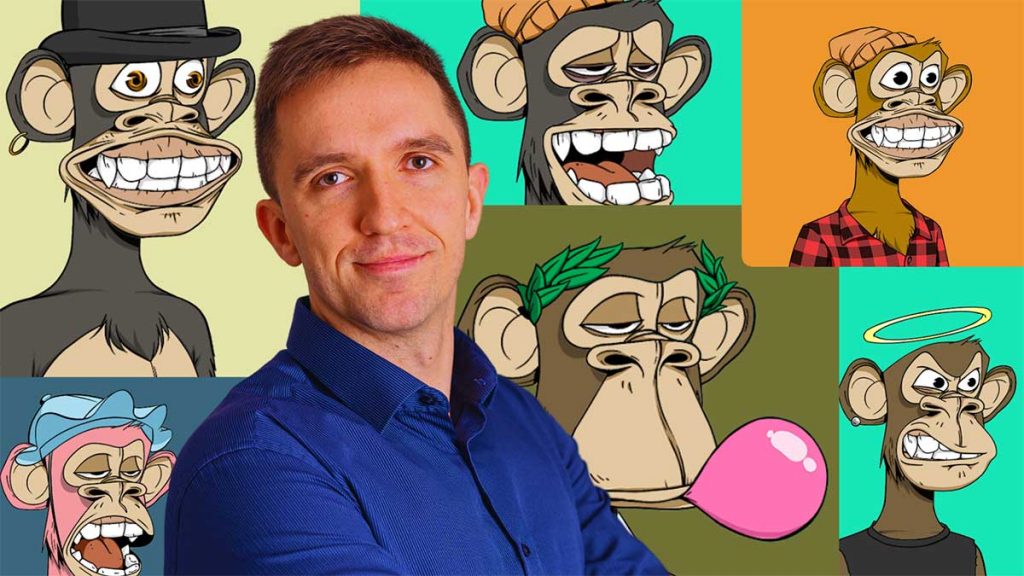
For example, the Bored Ape Yacht Club which I already mentioned has already an insane community and I think those monkeys got really popular because they have so many different impressions. Some of them are sad, others are bored, others are extremely funny and I think building some kind of impression on your 10000 NFTs is super important. Try to make them live so when people look into your NFT collection they will see feelings. They will see them sad, they will see them happy, they will see them frustrated, excited. Try to make them live so this will attract more buyers. But what’s really important before you do the next steps that I’m about to show is to visualize the whole thing into your head which will be super helpful and easier for you to prepare the collection.
Like when I’m recording online courses or recording lectures I always visualize the whole process, the videos, how I’m about to structure them, what I’m about to say, where I’ll be shooting, which camera or microphone I’ll be using, how exactly I’m about to do it and I always make a plan before recording each video so it’s easier for me to follow the steps after that.
Creating the NFTs
Next, it’s very important to use a graphic program that you are comfortable with. For example Photoshop, but I know that Photoshop is a little bit complicated for most people unless you are an artist and you’re comfortable with that. Plus it is a paid product. One of the free programs you can use is My Paint which you can download and it is good enough if you want to create layers for NFTs.
But if you’re just starting out and you want to make some NFTs, create the layers, and then follow the next steps that I will show you, you can use any program that you are familiar with. If you have some friends that are better in Photoshop or if you have a friend who is a graphic designer that would be even better. You can ask him to help you out, because if you have really a clear idea of what you want your NFT collection to look like, then it will be easier for you to explain it to someone who can help you out with the design because at the end of the day it’s important the NFTs look nice.
For example, I like the Bored Ape Yacht Club NFTs because they’re all funny, they all have those emotions on their faces and I just find them entertaining. Of course, the prices nowadays are ridiculous and I’m pretty sure that in the very near future some ready solutions will be out there like websites or apps where we can upload the layers or we can create the layers inside and generate the whole thing, but for the moment these are the steps we need to follow.
Prerequisites
Now before you generate the NFTs, you will need to visit a few websites, download a few programs and let’s go straight to the point. So the first one is Node.js which will be familiar to you if you are a developer. If you know to code the whole thing will be easier for you but if you are not don’t worry, all you need to do is to download the appropriate file according to your computer and the specifications that you have. So it depends if you’re a Mac user, if you are using Windows just select the program that fits best to your machine.
The next website you need to visit is GitHub from where you can download the ready code. There is a guy called HashLips or this is at least how he calls himself but he was open-minded enough to share the code with everyone so once you visit
the repository page you can download a zip version of the code. As well the guy has a small YouTube channel just like me where you can follow along with him and you can learn more about his work which I found useful because he’s actually sharing how he does that and he shared the ready-to-use code.
And the third website I want you to visit is the website of Visual Studio Code which is a code editor. This way you will be able to access the code and actually generate the NFTs and once you install it you will be able to get to work and you will find out that it’s nothing really complicated.
Generating the NFT collection
Step number 4 is actually to generate the NFT collection using the ready code that we already downloaded and I will just show you how the code looks like. So I will select the folder that we have downloaded so you can see that on the first spot we have the layers with the background and then we have the ball, the bottom, the eye color.
If I click on any of those you will see the actual layers displayed or it could be the top lid, high top, or lid eyeball, they are inside the code and you can see the whole thing in a code.
So I know it looks really complicated and it was for me as well. I spent enormous time researching the whole process and looking into the code and learning how to do it by myself and I will dedicate a lecture about how to modify the code with super easy to use steps, but in this lecture I want you to grab the idea that we are using that ready code shared from the HashLips developer and we are implementing our NFT layers so we can generate the NFTs at the end of the day and we will be able to upload them to OpenSea.
Uploading the collection
There we go to the next step – how do we upload the NFTs. What you have to do is to list them on OpenSea for example and I would suggest you stick to Polygon Blockchain because there are no Gas fees involved. On the Ethereum Blockchain, there are Gas fees, this is where the action happens but if you’re doing it for the very first time and you’re just practicing and you want to learn the whole concept you can just practice on the Polygon Blockchain because it’s free and there are no Gas fees involved.
So obviously it’s a lot of work to upload 10000 or more NFTs one by one. Of course, it is not impossible but it will take you a long time. So one of the solutions I found is to use a program called Mini Mouse Macro which remembers and records your mouse movements which means that if you upload one NFT and follow all the steps from Add item to uploading the NFT and then giving it a name, a link, description, you can record the exact movement of the mouse and then repeat it, again and again, using an Excel sheet which will help you with all the names and it will be super easy for you this way to repeat the same process again and again.
So basically you will need to do some work on an Excel sheet and have your 10000 NFTs collection listed with the different names and then start from the first NFT, upload it step by step but while you are doing it you record your mouse movement, exactly where you clicked with this Mini Mouse Macro program, which will repeat the same thing, taking the next number with the next name and clicking exactly on ‘Add an item’, uploading the next picture and then giving the name, copying it from Excel to the OpenSea and so on. Basically, the program will do the whole thing for you and you will need to upload just one NFT after that it will do the whole thing by itself. This is so far one of the easiest solutions that I have found and if you have any other ideas I’ll be super happy if you drop them in the comments below so the lecture will be useful for everyone reading it.
Conclusion
I will explain each of those steps that I described in detail so you can learn more about the code itself, how you can modify it even if you are not a developer, or how you can build the layers on Photoshop or on My Paint where it is much easier if you are a beginner and not a designer. As well I’ll be giving you more tips and ideas on how to make a unique and fantastic 10000 NFTs collection that you can market very well.
So if you like the idea of creating 10000 NFTs let’s go to the next lecture and I will show it all step by step. So if you like the idea of creating and listing 10000 NFTs. I really hope that you have found this lecture useful if you did please support it with a comment below. I’ll do my best to prepare in the upcoming days the lectures for each step so I’ll bring you more details about each one.