Welcome to my blog, where I share my experiences and insights into various trading tools and strategies. Today, I’ll be reviewing the Trade Explorer Expert Advisor from LeapFX. This EA has garnered quite a bit of attention, with numerous accounts showcased on MyFXBook. In this blog post, we’ll dive into the details, discussing its features, performance, and whether it’s a good investment.
Exploring the Trade Explorer EA
As someone who’s been in the trading game for a decade, I’ve come across my fair share of expert advisors and trading robots. LeapFX has an array of EAs available on their website, but what caught my eye was the Trade Explorer, primarily because it claims to trade on 27 different currency pairs. However, it’s important to note that some traders have raised concerns about its risk profile, with reports of blown accounts.
Trade Explorer Review: Risk Management
To assess the EA’s performance, I decided to deploy it on one of my Darwinex accounts, a platform known for its low leverage options. I started with a $90,000 account and opted for conservative risk settings. According to the EA’s manual, it recommends trading at 0.01 lots for every $5,000 traded. This would mean 0.18 lots for my $92,000 account. However, I chose to stick with 0.01 lots to play it safe.
Setting Up
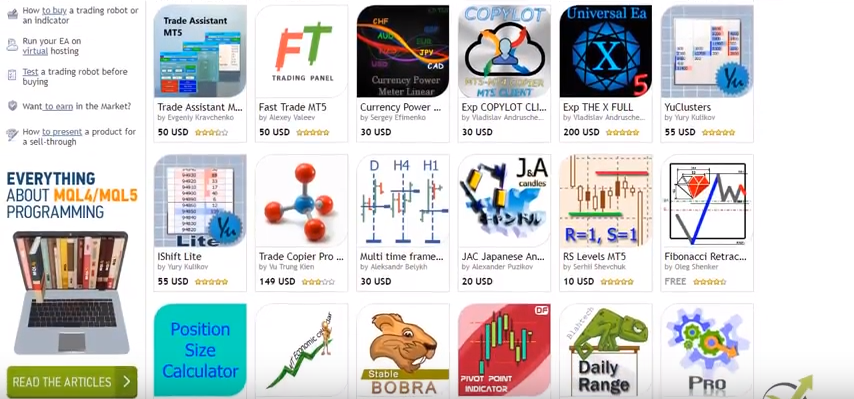
Before I delve into the actual trading, let me provide you with an overview of the Trade Explorer expert advisor. There’s a wealth of information available on LeapFX’s website, including MyFXBook accounts and reviews. While I won’t go through all of that, I want to highlight some performance statistics I found on MyFXBook.
Trade Explorer Review: Performance Analysis
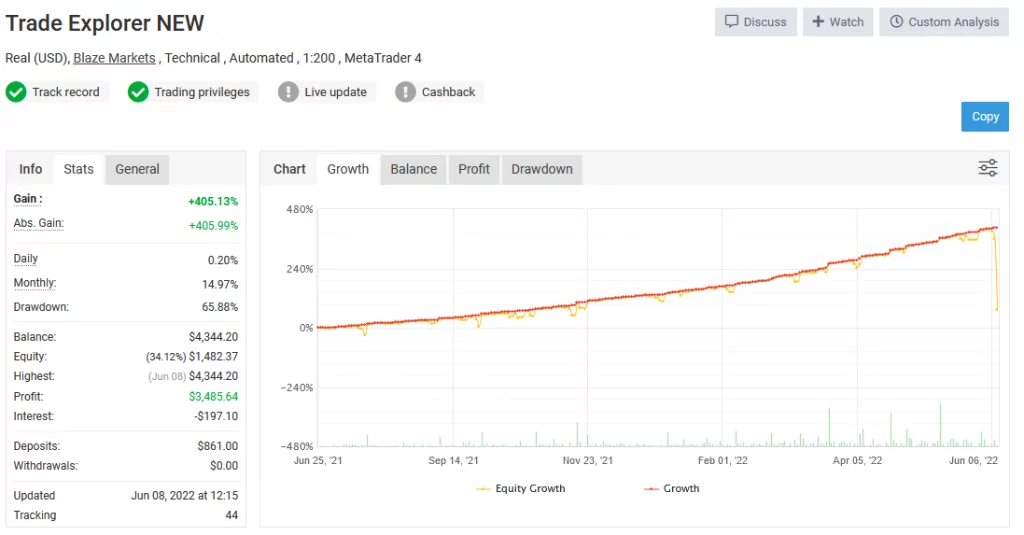
One account that caught my attention began in 2021. Initially, it seemed like the developer was using conservative settings, resulting in steady growth. However, there was a significant performance spike accompanied by a substantial drawdown. The drawdown nearly reached 70%, which is undeniably risky. But what’s intriguing is the recovery that followed.
The Numbers
Let’s look at the numbers. The account started with $3,500 and eventually generated close to $50,000 in profit. The monthly performance figures are equally striking, with gains exceeding 120% in March. This paints a picture of a high-risk expert advisor.
Trade Explorer Review: My Approach
Given the risk associated with the Trade Explorer EA, I’ve chosen to tread cautiously. I’ve set it up with minimal risk settings and a low drawdown configuration. Now, let’s see how it performs in real-time.
Uncovering Trade Explorer’s Performance
Before we get into the nitty-gritty of setting up the Trade Explorer on our trading account, let’s take a look at its performance in recent years. To do this, I delved into its track record, particularly focusing on the best-performing months.
In 2022, Trade Explorer showcased an impressive 25% gain, indicating its potential for profitability. Looking back to 2021, the EA boasted close to a 26% return in November. These figures paint a promising picture, but it’s crucial to remember that past performance doesn’t guarantee future results.
For a comprehensive understanding of Trade Explorer’s capabilities, there are numerous accounts and track records available. You can explore these further through this link.

Trade Explorer Review: The Importance of a VPS for Trading
Now, let’s address a crucial aspect that can significantly impact your trading experience – a Virtual Private Server (VPS). For those new to trading jargon, a VPS is a virtual machine that allows you to run your trading software, such as MetaTrader, remotely.
One of the primary advantages of using a VPS is that it ensures uninterrupted trading. Unlike your PC or laptop, which might need to be powered on continuously, a VPS remains online 24/7. This is vital because if you switch off your computer, your EA will stop working as it disconnects from your broker’s server.
Choosing the Right VPS Plan
To get started with a VPS, I opted for a plan from ForexVPS. They offer different packages, each catering to varying needs. I selected the basic plan, which allows me to run three MetaTrader platforms. However, I decided to push the limits a bit and installed four platforms on it.
Here are the key specs of the basic plan I chose:
- Two core CPU
- 80 GB SSD
- 2.5 GB RAM
This configuration should be more than capable of handling four trading accounts simultaneously. When you’re selecting a VPS plan, consider the number of accounts you intend to trade, as this will help you determine the most suitable plan for your needs.
Trade Explorer Review: Setting Up Trade Explorer on My VPS
With my VPS up and running, I installed the Trade Explorer on it. In addition to Trade Explorer, I also have other trading accounts, including an FTMO account, a Blackbull Markets account where I’m testing the King Robot, and another where I’m experimenting with the XAUBOT. However, for today’s review, we’ll be focusing on the Trade Explorer, which I’m deploying on my Darwinex account.
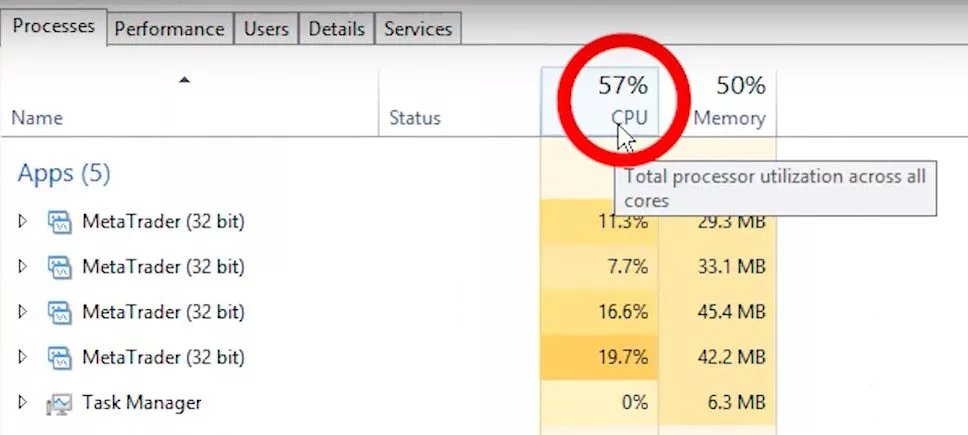
I wanted to ensure that my VPS could handle the load, so I checked the system resource usage. With four trading platforms running simultaneously, I’m utilizing approximately 60% of the CPU and about 49-50% of the memory. This assures me that my VPS is well-equipped to manage multiple trading accounts effectively without any hiccups.
Getting Started with Trade Explorer
To kick things off, I’ve acquired the Trade Explorer expert advisor along with an indicator that complements its functionality. Now, let’s get right into the action by setting up the expert advisor. It’s a straightforward process that begins with copying the EA to the correct directory.
- Copying the Expert Advisor: Open your MetaTrader platform, navigate to “File,” and select “Open Data Folder.” In this folder, you’ll find the “MQL4” directory. Inside “MQL4,” locate the “Experts” folder and paste the expert advisor here.
- Adding the Indicator: Similarly, copy the indicator, but this time, head to the “Indicators” folder within the “MQL4” directory and paste it there.
With these steps, you’ve successfully added the Trade Explorer expert advisor and its corresponding indicator to your MetaTrader platform.
Trade Explorer Review: Configuring Trade Explorer for Multiple Assets
Now that we have the expert advisor in place, let’s move on to configuring it for multiple assets. I’ve opened ten different charts representing various assets where the Trade Explorer will be actively trading.
According to the manual, you can adjust the risk level by selecting specific currency pairs and utilizing lower risk set files. To begin, I’ve chosen the AUD/USD pair and switched to the M5 time frame. Here’s what you need to do:
- Drag and Drop the Expert Advisor: Drag the Trade Explorer expert advisor onto the chart.
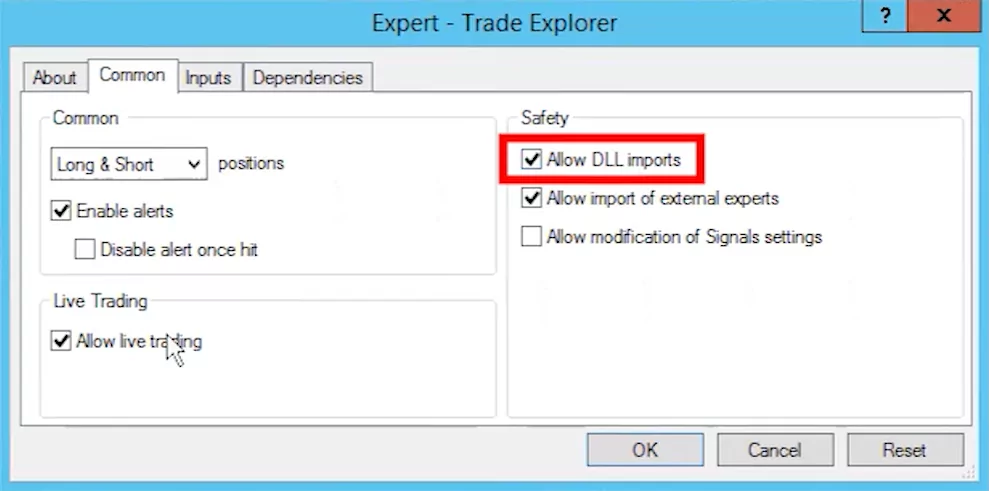
- Adjust Comment Settings: In the expert advisor’s settings, ensure that you allow DLL imports and enable live trading.
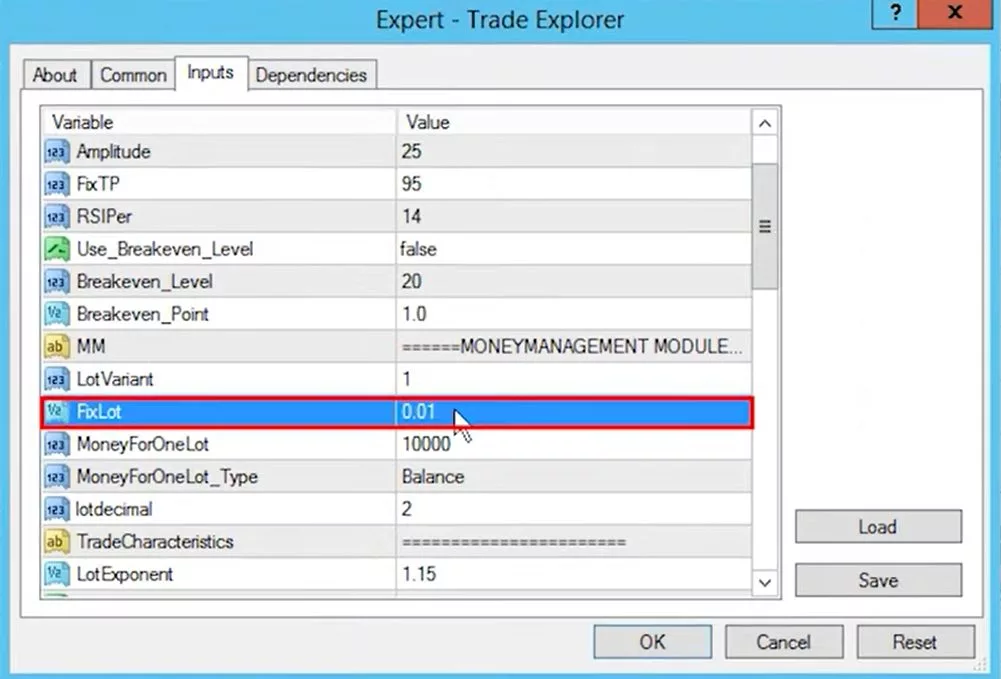
Now, you’ll notice a plethora of input settings, each with its own significance. While they may seem overwhelming at first, it’s essential to understand key options, such as “Break Even,” “Money Management,” “Magic Number,” “Basket Stop Loss,” “Account Maximum Trades,” and “Total Equity Risk.”
Using Set Files for Lower Drawdown
Trade Explorer provides pre-configured set files that cater to different risk preferences. To implement a lower drawdown strategy, I’ve chosen the “low drawdown set file” for the AUD/USD pair. This file automatically adjusts the settings to align with a lower risk approach.
For my Darwinex account, which operates with a leverage of 1:10, I’ve decided to start with a conservative lot size of 0.01. However, as I gain more experience with the EA and assess its performance, I may consider increasing it to 0.05. It’s crucial to evaluate risks meticulously, especially when dealing with an EA like Trade Explorer, known for its Martingale system.
Trade Explorer Review: Real-Time Monitoring and the Role of a VPS
With the expert advisor configured and set files in place, I’ve attached it to multiple charts representing various currency pairs. The smiley face icon on each chart indicates that the EA is actively monitoring and looking for trade opportunities.
Now, here’s a game-changer in the world of automated trading: a Virtual Private Server (VPS). I’ve recently acquired a VPS from ForexVPS to ensure uninterrupted trading. A VPS is like having a dedicated virtual machine that runs your trading software 24/7. It’s especially valuable for traders because it eliminates the need to keep your PC or laptop running at all times.
Considering the Risks
As I progress with Trade Explorer, I’m well aware of the risks associated with its Martingale system. While I don’t shy away from Martingale strategies and have successfully used them in the past, it’s crucial to exercise caution and avoid over-leveraging.
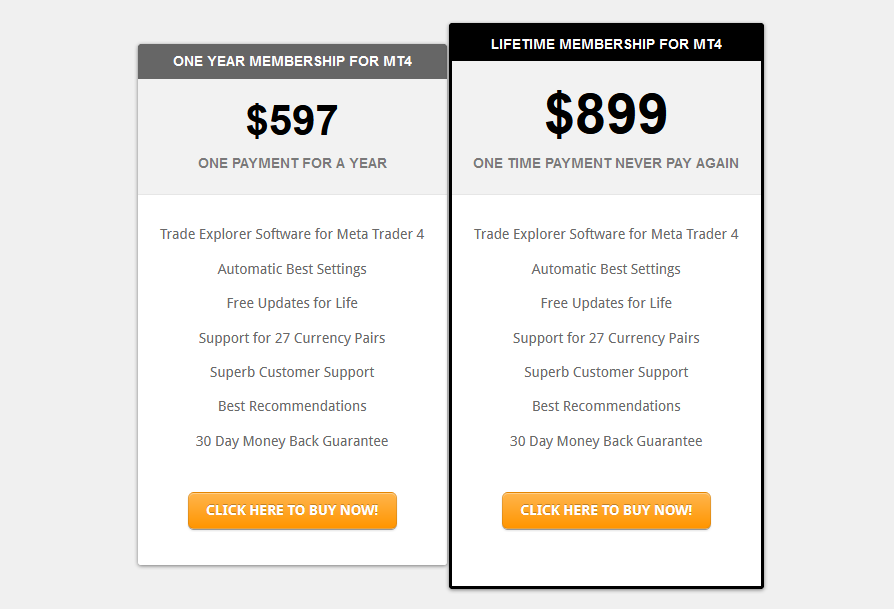
Trade Explorer offers a 30-day money-back guarantee, providing a safety net for those who want to explore its potential. The pricing options include a one-year subscription for approximately $600 and a lifetime membership for $900.
Trade Explorer Review: Conclusion
In the world of trading, preparation is key to success. Setting up a VPS for your trading activities not only ensures uninterrupted operation but also offers peace of mind. The Trade Explorer EA, with its impressive historical performance, shows promise, but always remember to trade responsibly and be prepared for market volatility.
As I continue to test and evaluate the EA, I’ll keep you updated on its performance and share real-world trading results. Trading is an ever-evolving journey, and having the right tools and knowledge is crucial.